Congratulations! You've got your hands on a genuine Vanir Mead Homebrew Kit from Groennfell Meadery!
Whether you're brewing with a one gallon kit or a five gallon kit, the steps for your brew day are all the same, so this guide will cover either size batch.
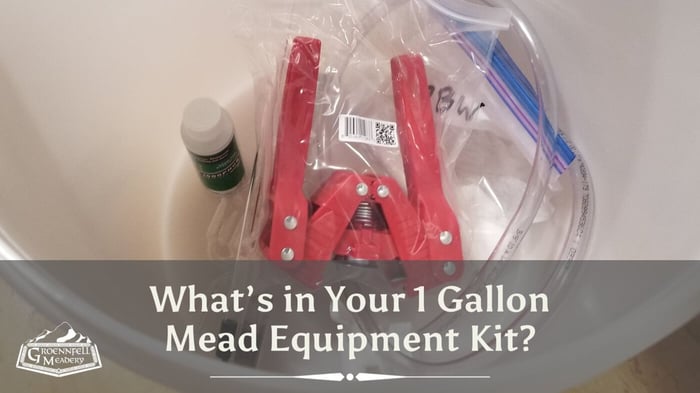
If you need equipment to brew, you can snag an equipment kit right here.
TL;DR for folks that want the DL ASAP on the QT:
- For every gallon of water, add three pounds of honey, between 1/2 and 1 packets of D47 yeast, and one teaspoon of yeast nutrient.
- Ferment at 86 degrees Fahrenheit until bubbling stops
- Rack into the carboy onto the wood that's been soaked for at least an hour in your favorite spirit.
- Wait at least two weeks and up to a year.
- Bottle and drink.
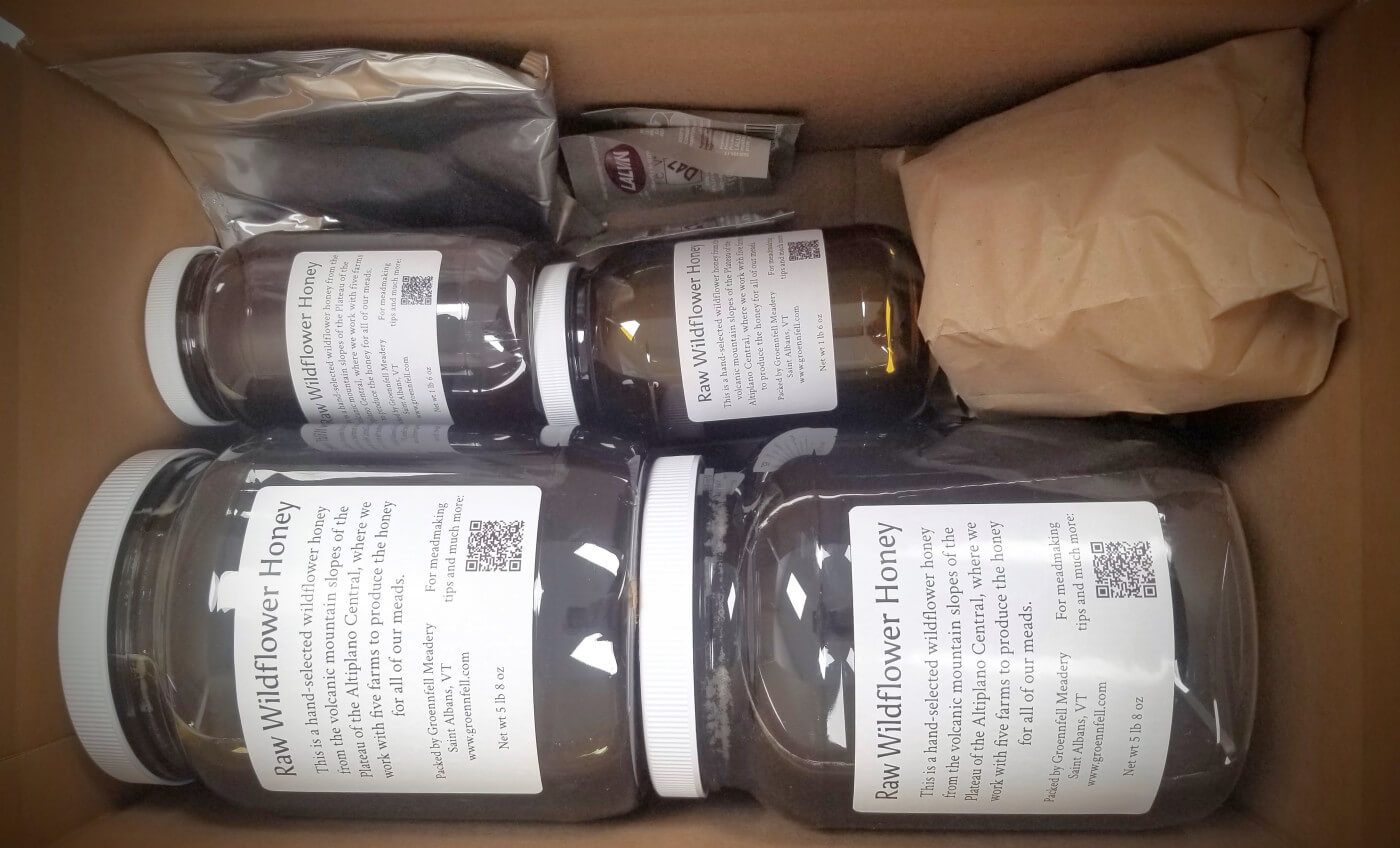
What's in the Box
All of the ingredients included are the exact same ones that we use for brewing Vanir at the Meadery.
Honey
This is a hand-selected wildflower honey from the volcanic mountain slopes of the Plateau of Altiplano Central where we work with five farms to produce the honey for all of our meads.
In fact, we bottle the honey ourselves from the 3,000 pound totes we use before we brew a batch, so you'll get the same, cool seasonal variations in your batch of Vanir.
Your kit includes the exact amount of honey you need to brew your batch.
Yeast
We use D47 yeast for many of our products because it's such a clean fermenting yeast without being boring. While many recipes call for one packet of yeast per five gallons, we believe that a little more yeast at the start of fermentation is better.
If you have the five gallon kit, we've included three packets of yeast, and if you have the one gallon kit, use the whole packet!
Yeast Nutrient
While raw honey has a lot more nutrients than filtered and pasteurized honey, it's still mostly sugar, so this yeast nutrient will go a long way to helping you have a clean, healthy fermentation.
Wood
This is a piece of white oak which you will put into the secondary fermentation vessel for aging. We cut them all by hand to fit through the neck of the carboy. If you have trouble getting them back out, let them dry for a few days since the wood expands slightly when it's wet.
Corks
These are pretty self-explanatory. They're for corking your mead. Most folks reuse clean and sanitized wine bottles.
Your Brew Day
Almost all mead brew days are the same, whether you're making one of our clone kits or using your own ingredients.
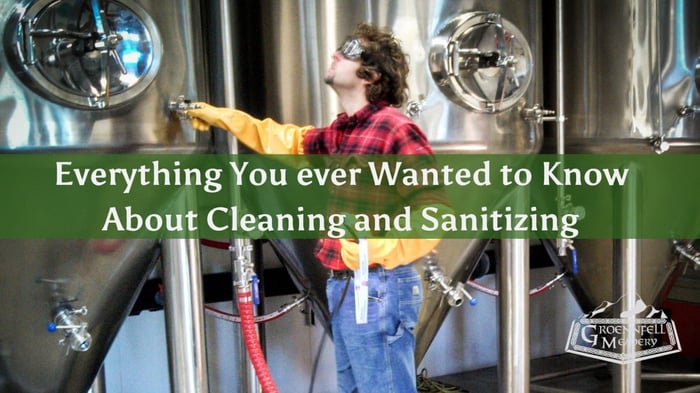
Step One - Clean and Sanitize all Equipment
Remember, you can't sanitize dirt, so make sure you clean everything really well, ideally before you put it away. For cleaning, we highly recommend PBW, which should have come with your homebrew kit.
Following cleaning, use your Iodophor as directed to spray down all of your equipment (including the spoon you'll be using to stir.)
Never rinse after sanitizing since that would undo the sanitization. For more on how to clean and sanitize your equipment, check out our article on the subject.
Step Two - Start Warming Your Honey
The honey should be about 92 degrees Fahrenheit when you brew with it. We recommend simply placing the jars in warm (120F) water and checking it periodically. Depending on how cold your honey is, you may want to do this a few hours before you plan to brew.
Or, possibly, you live somewhere warm enough that you can skip this step!
Step Three - Mix the Honey, Water, and Nutrient
Warm water and warm honey love to mix, but if it gets too warm, you start to lose aroma molecules and you have to cool it down before you can pitch your yeast. If it's too cold, you can stir for ages and still not get it to mix and then you have to figure out a way to warm it up so your yeast can get to work.
We like to ferment Vanir on the warmer end of the spectrum (more on that later), so our goal is to mix the honey and water together so the mixture ends up between 76F and 82F.
You know the temperature of your tap water, kitchen, fermentation closet, etc. better than we do, so use your judgment.
No matter what, make sure your water is good for brewing. Generally, if it's good for drinking, it's good for brewing. If you filter your water before drinking it, make sure to do that before brewing with it.
Combine your honey, water (4.5 gallons for a 5 gallon batch or .8 gallons for a one gallon batch), and one teaspoon per gallon of nutrient in your sanitized brewing bucket to reach the desired volume. Make sure to splash it up really well with your sanitized spoon to oxygenate the must (which is the technical term for the honey and water mixture).
Step Four - Take a Gravity Reading, optional
If you're going to take a gravity reading, you should do it now! It should be right around 1.100, give or take ten gravity points. A little above or below isn't a problem. If it's way too high, add some water. If it's way too low, this means you probably didn't get the honey and water to mix properly.
Step Five - Pitch the Yeast
"Pitch" is just the fancy word for "add." Sprinkle all of the yeast included in your kit on top of the must and let it rehydrate. No need to stir it in!
Wait fifteen minutes to give it access to atmospheric oxygen in addition to the oxygen in the must.
Step Six - Close Up the Fermenter
Put on the lid and double check that it's sealed all the way around. Insert the bubble lock and make sure that it's filled with water or sanitizer to the proper level.
Now put it somewhere warm but where it won't get too hot. Our target fermentation temperature is 86 degrees. This is warmer than most recipes call for, but at those higher temperatures, we develop the rich, complex flavors we associate with Vanir. You likely won't need to have it in a space that warm, since the yeast will generate its own heat as it goes to work on that honey.
Step Seven - Wait
Now it's time to wait for your must to turn into Vanir! You should see bubbling through the bubble lock within 12 hours.
As we just mentioned, remember that your yeast will generate heat as it ferments, so check the temperature regularly for the first few days to make sure it doesn't get too hot.
Fermentation should last between a week and a month, depending on the temperature.
You'll know fermentation is done when the bubbling stops. You can confirm this by taking a gravity reading. The reading should be somewhere between .996 and 1.000. For Vanir, lower is better.
Step Eight - Transfer Your Mead
Before transferring your mead, prepare your wood by soaking it in a liquor of your choice for an hour. We use Eau de Vie at the meadery, but a lot of homebrewers like the added complexity of soaking it in their favorite bourbon.
Either using the spigot on the bucket, or your auto-syphon, it's time to transfer your mead into your carboy. make sure your carboy is clean and sanitized.
Drop your soaked wood (and the liquor, if you want to) into the carboy, then carefully transfer your mead trying to leave behind as much sediment as possible.
Place the sanitized bung on the top and add a bubble lock properly filled with water or sanitizer.
Step Nine - Age Your Mead
The process is a little different at commercial meaderies, but we age Vanir for a minimum of two months and up to a year before packaging it. This huge range has to do with ambient temperature, the type of tank we're using, autolysis and more.
To put it simply: Age your Vanir for at least two weeks so the wood has time to impart its character, and then continue aging it as long as you'd like.
Check the bubble lock periodically to confirm that it still has liquid.
Step 10 - Bottle It Up!
Either using your auto-syphon connected directly to the bottling wand, or by transferring your mead back into the bottling bucket, fill your clean and sanitized bottles.
Once again, be careful to leave behind as much sediment as possible.
Step 11 - Enjoy!
Congratulations! You now have homebrewed Vanir! Throw a Feast and enjoy it with friends!