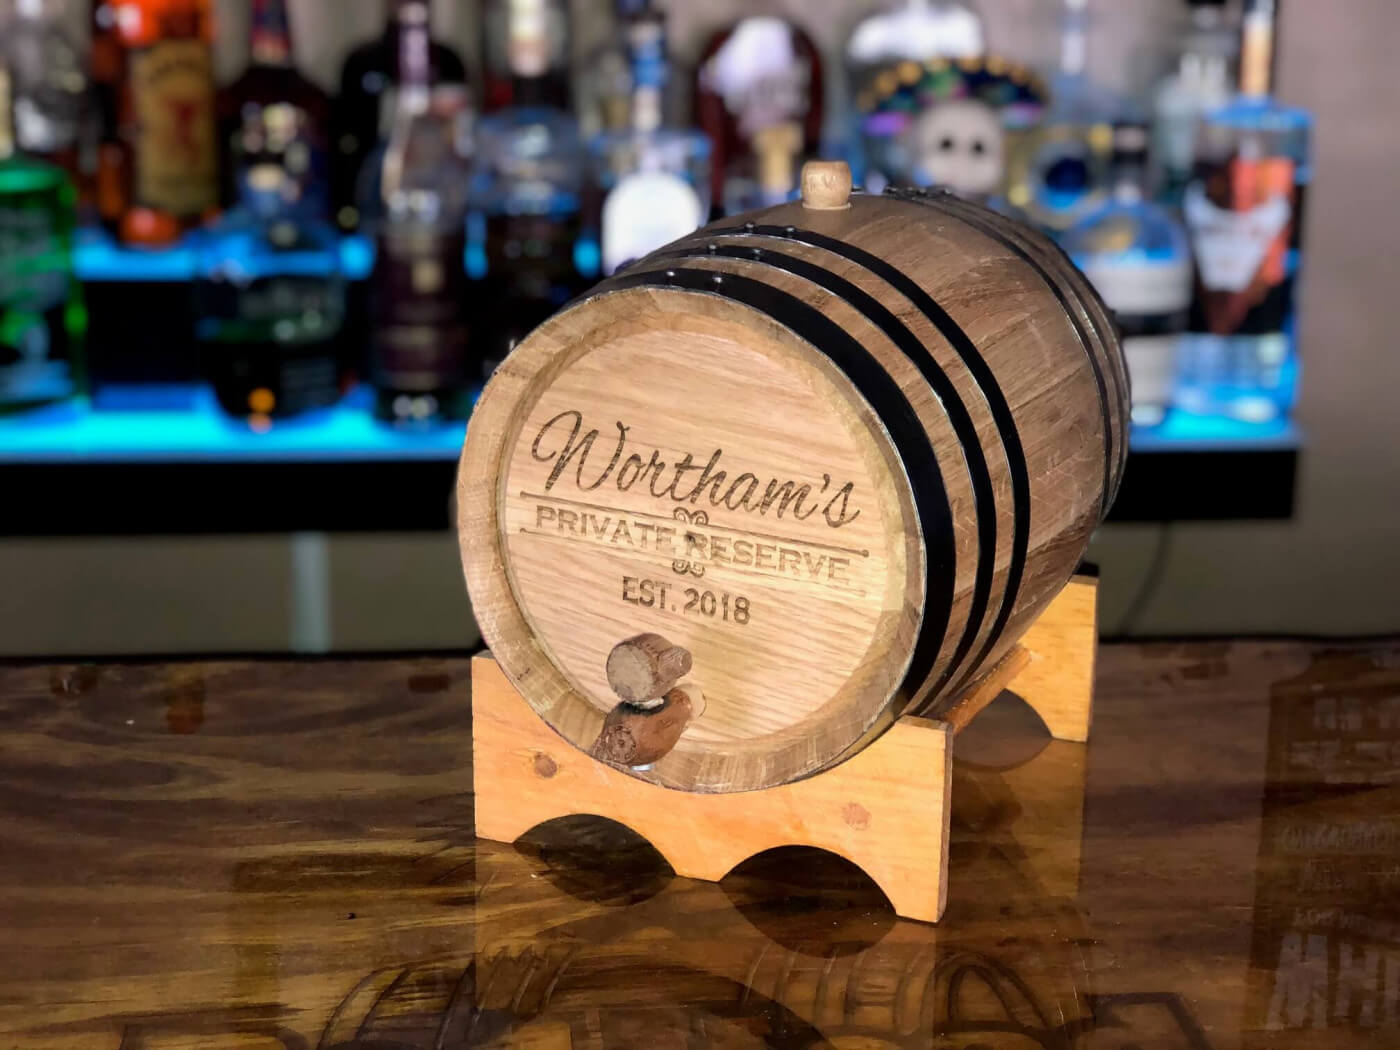
It's finally happened. Someone who loves you a whole lot and knew you were getting into homebrewing went out and bought you your own bourbon barrel. And now you want to make barrel-aged mead right in your own home. But where do you begin?
(That someone could be you.)
Equipment
You can get 5-liter oak barrels from several companies online. I think mine came from RedHeadOakBarrels but a simple Google will find you hundreds of places to buy one.

(One of RedHeadOakBarrel's products)
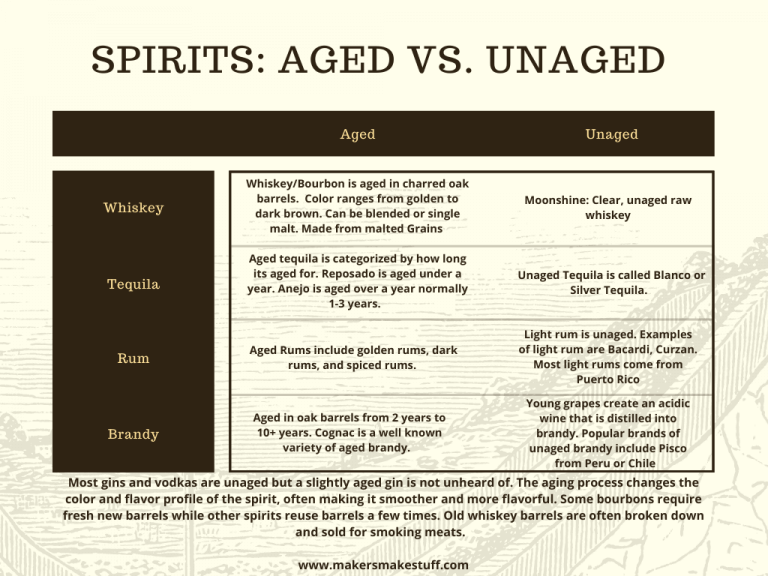
You will also need to pick up 1-2 gallons of your favorite spirit. I usually use bourbon because I like the flavor it imparts on my barrel-aged mead, but you can also use moonshine, other whiskeys, or anything you so desire. You just need enough to fill your barrel.
You'll also need to pick out a proper mead. For your first barrel-aged mead, I suggest doing a straight honey mead instead of something more complicated. like a metheglin or a melomal. It'll help you understand the flavor more. If you don't want to brew your own mead, Valkyrie's Choice is a great... choice... for barrel aging.
Finally, you need time. You'll need time to prep the barrel and then time to age the mead. Don't expect this to be done in a single evening.
Prepping the Barrel
Barrels swell and shrink as they are used and dry out, so there is some prep involved. As soon as you have your barrel in hand, rinse it out. These barrels are usually charred, meaning they were burnt on the inside for a short period. That's what gives them that smoky flavor. When barrels are brand new, they have some extra char floating around, plus they likely have some dust or dirt from their time at the place they were made. Swirl some hot water around inside your barrel and then dump it out.
Next, put your spigot on the barrel and fill it all the way with water. Seal it up and check it for any leakage. You may want to wrap a dry paper towel around it to see if it leaks anywhere but definitely put one underneath the spigot.
Let it sit for 24-48 hours so that the wood will swell and get ready for use. You may have some leakage early on in this period, but it should be completely done leaking by the time the 48 hours have passed.
Ours leaked what looked like black tar for a little while, but it was just the char from the inside of the barrel.
Once these 48 hours are up, you will want to dump all the water currently in your barrel, fill it halfway, swish it around again, and then dump that out. Your barrel is finally ready for flavoring!
Flavoring the Barrel
Next, you are going to add your spirits. A 5-liter barrel like I linked above will hold about a gallon and a half of spirits. You want to be sure to fill it all the way to the top. The more surface area that is touching the liquid, the more the flavor will shine through. Some of this will evaporate, so don't expect to get all of that back when you're done. We call this the angel's share.
Keep the spirit in your barrel for at least a week. Smaller barrels obviously age faster because there's less liquid to work through. But after a week, you should be able to taste the barrel in the spirit. Once you think it's to your liking, it's time to remove the spirit and add your mead.
Interested in learning about the science behind how this works? Our friends over at Wanderback have a very cool article that spills all the secrets about barrels.
Adding Your Mead
Again, I recommend using something that is a straight mead, like Valkyrie's Choice your first time around. Other flavors can complicate things and you just want to get a clear idea of what kind of taste you're adding to your mead.
You can keep your mead in there for a week or two. It's recommended that you taste test it every couple of days though because it's possible to over oak your mead. When it gets to a place you want it, remove it, and either drink it or bottle it.

Things to Keep in Mind
You can fill your at-home barrel with whiskey three or four times before it starts to lose its flavor. Wines you'll want to refresh after every mead. Spirits like rum and tequila can go for much longer, between six and ten times. Be sure to keep track and taste test often to figure out the sweet spots for your barrel!
It's not always recommended to change the flavor of what you're using to age, although some users like to have the flavors carry over into new batches. But if that doesn't appeal to you and you still want to try something new in your batch, a thorough cleaning and a re-cure of the barrel will help cut down on the flavoring.
You don't want your barrel to ever dry out, so be sure to keep adding more mead and more spirits to the barrel. If you don't have anything to add, it's recommended that you crush up a Campden tablet in a warm gallon of water and add that instead. It will help keep mold and mildew from growing in your barrel.
If you live somewhere warm and wet like I do, it's a good idea to store your barrel somewhere cold, like underground or in a dark closet. Heat and humidity can have a negative effect on your barrel and whatever you're aging.
That friend I mentioned at the beginning? Make sure they always get a taste of whatever you have aged. It's the tax for being such a good friend.
Not totally sold on the whole barrel thing just yet? MadAlcheMead has a great list of alternatives homebrewers can use to get that same flavor without the commitment.
Not ready to commit to using your homebrew yet? Never fear. Valkyrie's Choice or Vanir both make great barrel-aged meads!


