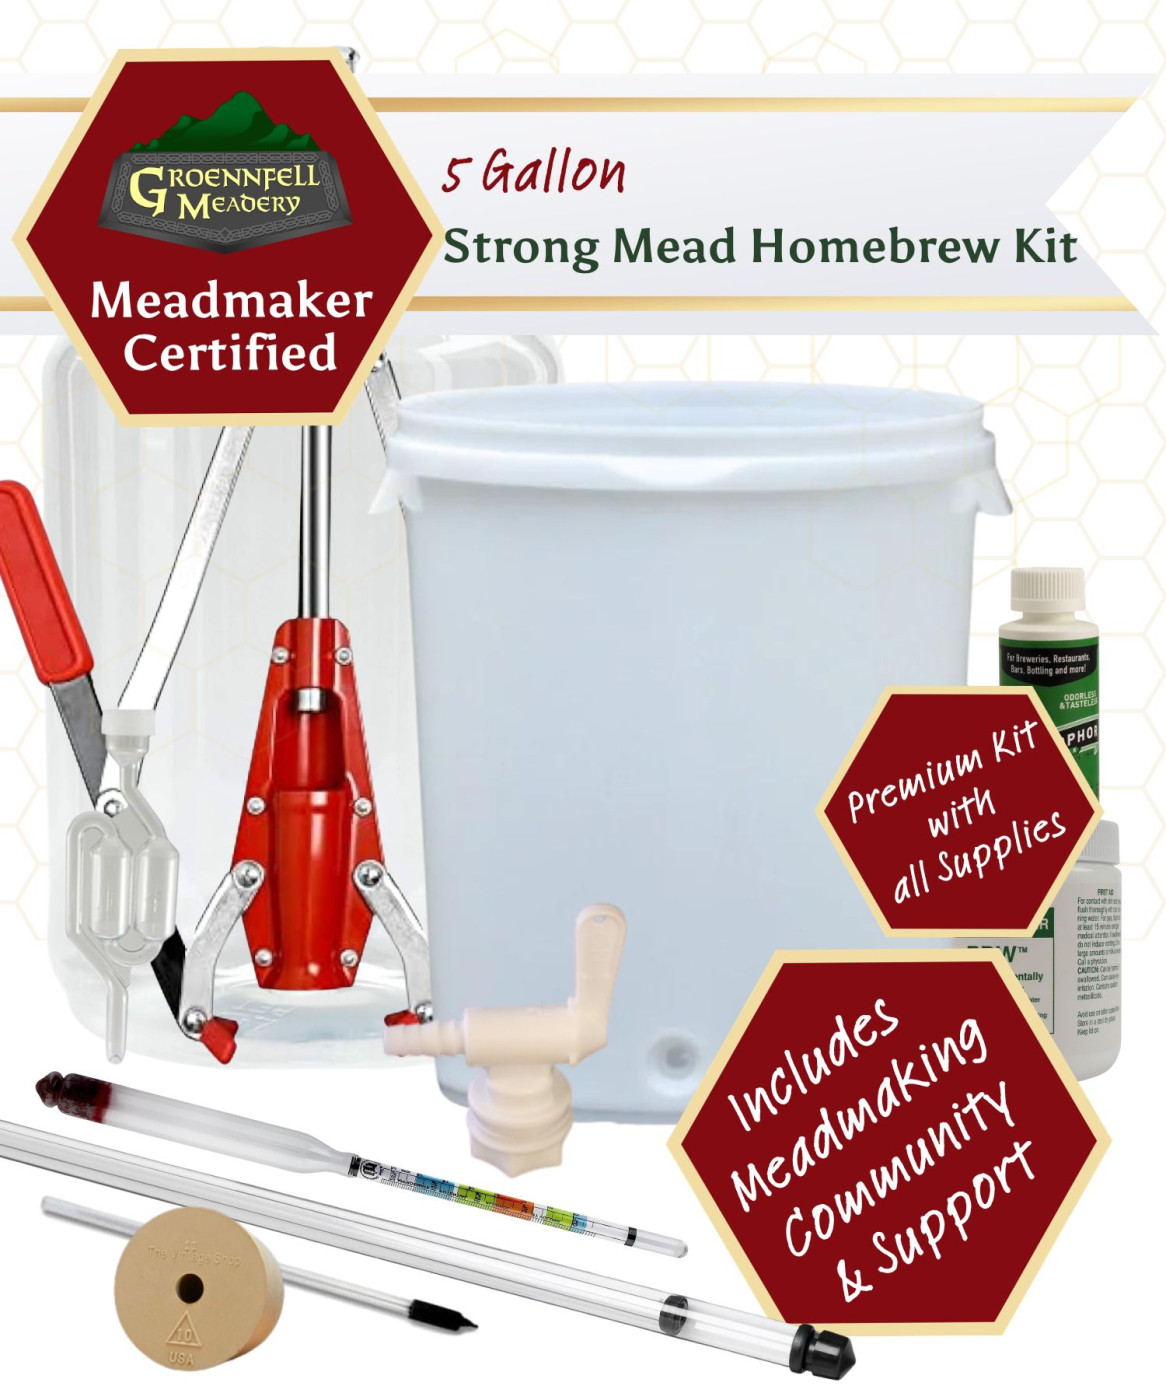
Congratulations! You have an official Groennfell Meadery Supreme Strong Mead Equipment Kit! You're well on your way to making your first batch of strong mead.
Whether you're using one of our ingredient kits or you're sourcing your own materials, you have all the equipment you need to brew a fine batch of mead.
Before you can get started, though, we'd better go over what's in the box.
Fermentation Bucket
Let's start with the big, honkin' bucket. This is a specially made fermentation bucket. There are three things that make it special. First, it has a spigot for transferring and/or bottling (more on that below). Second, it's made of a food-grade polymer rated for contact with alcohol. Third, it has molded handles so that you can safely move your fermenting beverage around without risk of popping off the lid.
It's 7.8 gallons, but it's intended for 5 gallon batches. Why the extra space? Because when beverages ferment they foam up, and you don't want to blow the lid off.
The special polymer mentioned above also means that you can easily clean and sanitize your bucket, which is extremely important for making all fermented beverages, whether it's strong mead, craft mead, wine, beer, or anything else.
Grommeted Lid
The lid is made of the same material as the bucket which not only means that it can also be cleaned and sanitized easily, but it also means that the microscopic expansion and contraction with temperature changes will affect them equally, so you'll maintain a nice, air-tight seal.
Getting plenty of oxygen in your batch on the first day is very important, but you want to limit air exposure for the rest of the fermentation. That's why this lid has such a tight seal, and a grommeted hole at the top for inserting your air-lock.
Spigot
Before you can brew your first batch, you'll need to install the spigot in the threading at the bottom of the bucket. This spigot will allow you to easily transfer your mead or to use the bucket on bottling day.
To install the spigot, remove the nut on the back, then reverse the gasket so that the flat side is facing the spigot, and the slightly rounded side is facing the bucket. Gently align the threading and tighten until it's hand tight and pointing down.
Fill the bucket with about two gallons of water and leave it for an hour to confirm that you've made a tight seal that won't leak.
The nut is still included for an older style of fermentation bucket, so you can just toss it in your drawer of random parts and forget why you have it.
Air Lock (aka Bubble Lock)
This sciencey-looking, s-shaped contraption is your air lock. As mentioned above, excluding oxygen for the majority of the fermentation is extremely important. (No need to get into exactly why at this point, just trust us.)
This allows the CO2 from fermentation to escape without letting air back in.
To use it, simply sanitize with the rest of your equipment, then either leave sanitizer in there at the line marked on the air lock, or fill it up with water to the same level. Opinions differ on whether water or sani is better. We're not going to get into that debate here.
There are two included in your kit so that you can use your bucket and carboy at the same time.
This is the last piece of the equipment that's essential for making your first batch of mead. Now we get into the useful equipment.
PET Carboy
Exclusive to our Strong Mead Equipment Kit, this carboy allows you to provide a very low oxygen environment for extended aging (also known as "secondary fermentation") for your mead. Most craft meads are ready in a matter of weeks, but many strong meads can take months to fully mature, and they need to be in a very tight container that still has the ability to release gasses from solution. Thus, the carboy!
Bung
This goes with the carboy to help create an air-tight seal.
Hydrometer
No homebrew kit of any sort would be complete without a hydrometer. While not an essential tool, it's very useful for two things. First, calculating the alcohol content of your mead. Second, and more importantly, checking up on your fermentation.
Strong mead usually has an alcohol content around 12%-18%, but what you really care about is knowing that the fermentation has completed. If it's still actively fermenting when you bottle it, you risk creating bottle bombs where the pressure from the CO2 shoots the cork out of your bottle (or blows it apart if it's capped). Not fun.
By using your hydrometer, you can confirm that you've gotten to the final gravity indicated in the recipe.
Tubing
This tubing is cut to a six foot length so that it can be used for either your bottling wand or with the auto-syphon. Some folks like to cut a one foot piece off of the length and use that for the bottling wand and the remaining five feet for the auto-syphon. It's totally up to you.
Auto-Syphon
Exclusive to our Strong Mead Equipment Kit, this tool allows you to transfer your mead to your carboy for extended aging (also known as "secondary fermentation"), then to transfer it back to the bucket for bottling. Some folks even use it in conjunction with the bottling wand to bottle right out of the carboy!
Bottling Wand
You guessed it! This is for bottling your strong mead! (Obviously, it also works for other beverages, but that's not why you're here.)
It starts automatically when you press the wand to the bottom of the bottle thanks to the nifty little button down there, then stops as soon as you lift it. The diameter of the wand is meant to equal precisely the amount of head space you need in a wine bottle when you remove it from the bottle. Pretty cool, right?
Corker
While having your mead on draft is a great goal, often bottles are the way to go, and they're certainly cheaper to get started. Also, having a particularly strong mead, like 18% abv, on draft can be dangerous for unsuspecting guests.
This convenient hand-corker will allow you to seal your bottles after you fill them. Most folks just reuse wine bottles they collect from friends rather than buying bottles.
PBW
What does PBW stand for? If you ask our brewer Jake, he would tell you, "Duh, Peanut Butter Walrus." He's wrong. Originally, PBW stood for "Powdered Brewery Wash," but like KFC, eventually the name officially became "PBW" which is good since it's now available in a liquid form, for some reason.
This is your cleanser which is specially formulated to leave no residue when you rinse it. There are a number of reasons you don't want to clean your brewing equipment with dish soap which we won't get into right now. Just know that the vast, vast majority of fermentation professionals use PBW for all of their equipment.
Iodophor
There are many sanitizers on the market. At Groennfell Meadery, we use SaniClean, StarSan, and Iodophor. We selected Iodophor for this kit for two very good reasons: It's the most cost-effective sanitizer on the market, and it's very good at what it does.
Remember, you can't sanitize dirt, so make sure your equipment is clean before you sanitize it. Also, never rinse off your sanitizer - that undoes the sanitizing! For more on how to clean and sanitize your equipment, check out our article on the subject.
And that's it! Now you're ready to start brewing!