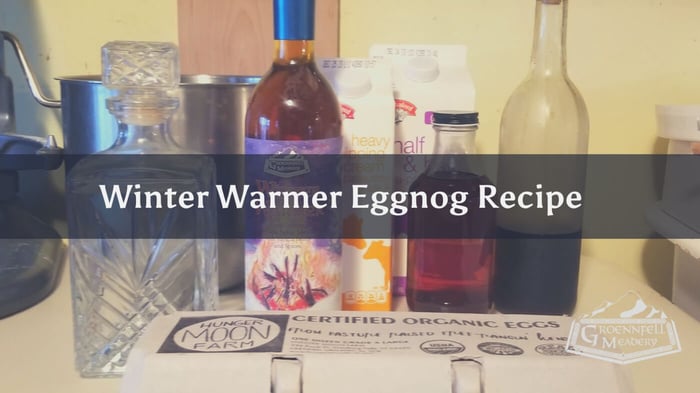
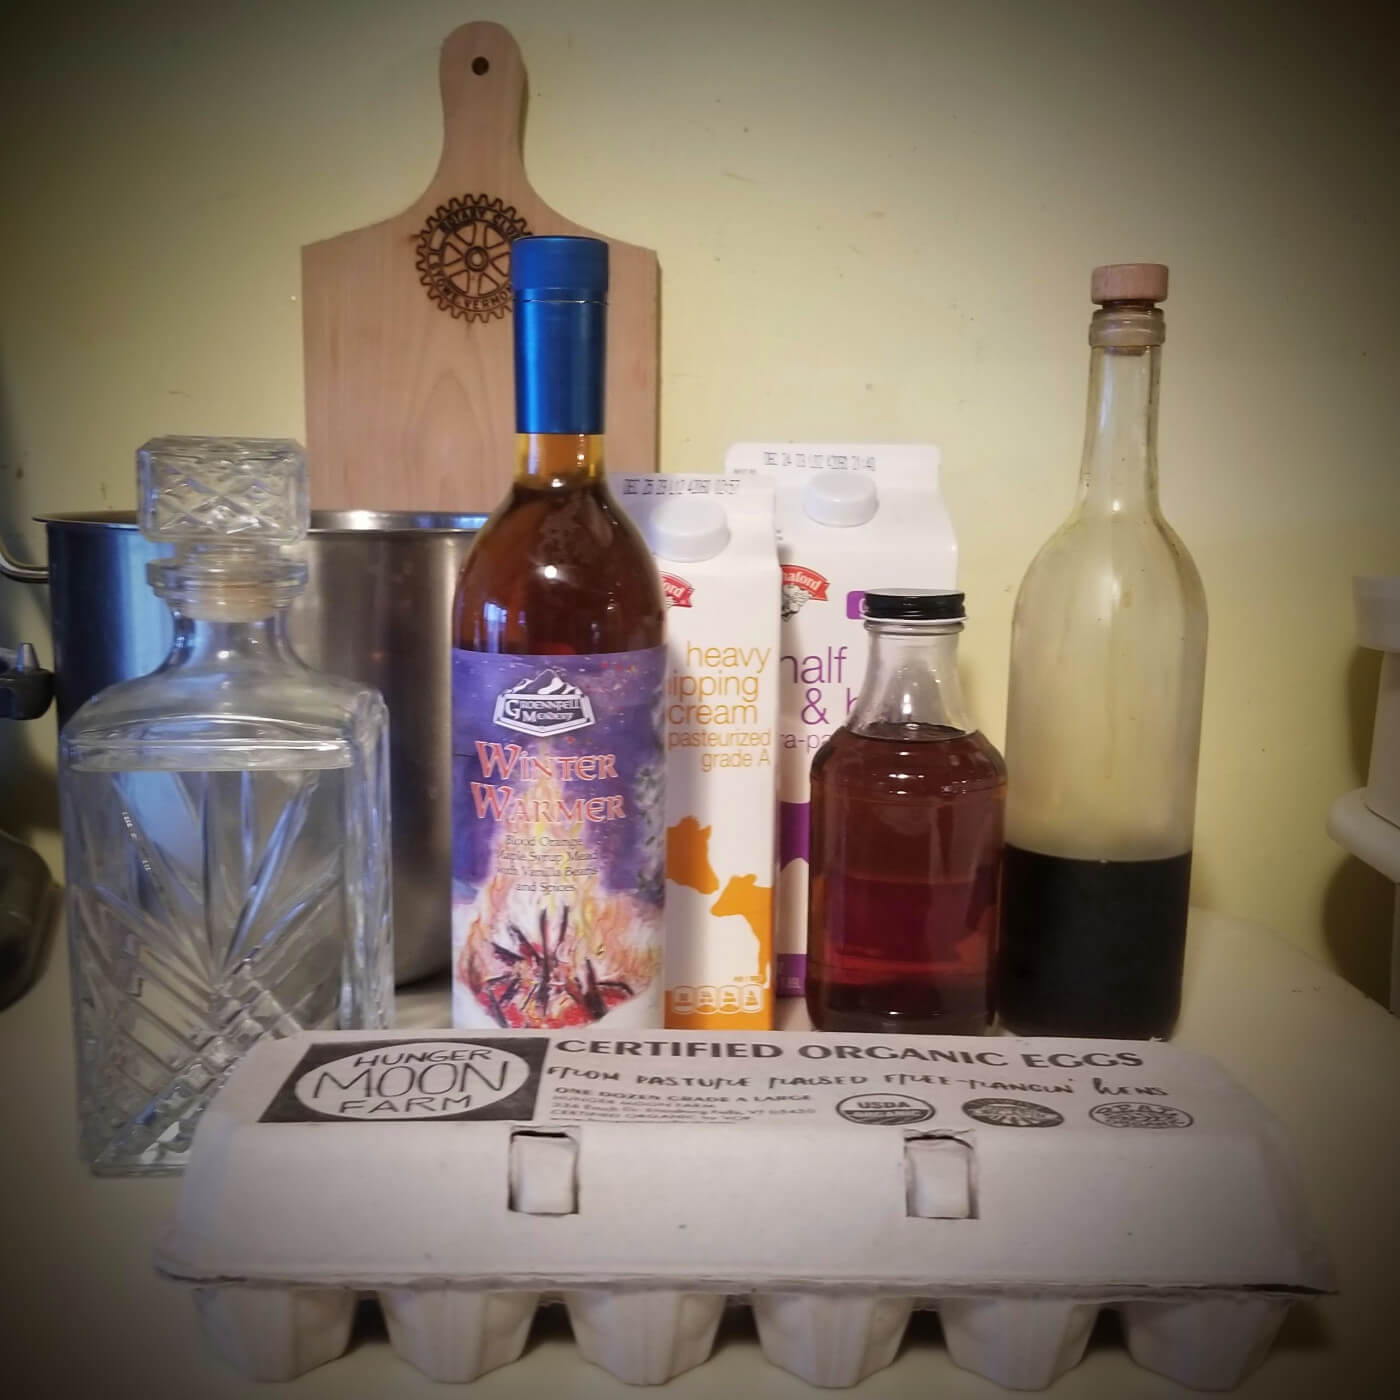
We're not like those other recipe blogs where you have to scroll and scroll and scroll to get to the, y'know, recipe. Here are the ingredients for a full-sized batch of our Winter Warmer Eggnog.
Note: This recipe calls for raw eggs. Please read the section below on the question of raw egg safety.
How to Make Winter Warmer Eggnog
Ingredients:
- 12 Eggs
- 1 Cup White Sugar
- 1/2 Cup Maple Syrup
- 3 Cups Heavy Cream
- 3 Cups Half and Half
- 2 tsp Vanilla
- 2 Cups Winter Warmer
- 2 Cups Whiskey
- 2 Cups of Eau de Vie or Brandy
- Grated Nutmeg to Taste
- Cinnamon to Taste
- To make a thinner eggnog, add up to 2 Cups of Water or Milk
Now, there are two ways to go from here.
The Easy Way
- Combine the eggs, sugar, and maple syrup in a mixer fitted with a whisk until well combined.
- In a separate bowl, whisk together the half and half, cream, and vanilla, then slowly add to the egg mixture while the mixer is running on its lowest setting.
- Turn up the mixer about half speed and mix together until the mixture starts to fluff up. Turn the mixer down to its lowest setting.
- In a separate bowl, mix together all of the alcohol, then add to the egg and cream mixture.
- Serve with grated cinnamon and nutmeg.
The Very Complicated Way
- Separate all of the egg whites and yolks in different bowls and put the whites in your mixer.
- Add the maple syrup and vanilla extract to the egg whites and start whipping until it just starts to hold a peak.
- While the mixer is running at half speed, slowly pour in 2 cups of the cream. Continue to mix until it starts to hold a stiff peak, but be very careful not to overwhip it. Let it stand in the mixer when finished.
- In a separate bowl, combine the sugar, yolks, half and half, and the remaining cup of cream. Mix with a wire whisk until smooth.
- In yet another separate bowl, combine the alcohol, then, while mixing the yolk mixture with one hand, very slowly pour in the alcohol. Hand mix it until you set up an emulsification. We need to make sure that the alcohol doesn't curdle the milk in the half and half.
- In the final serving bowl (which should be quite large) pour in the entirety of the yolk mixture, then slowly, one scoop at a time, fold in the whites mixture making sure that it combines, but you don't break the foam structure of the whites and cream.
- In the end, the texture will be almost like a thin whipped cream.
- Grate nutmeg and cinnamon over the whole bowl.
- Serve with a ladle into mugs, add additional nutmeg and cinnamon as desired.
What's the difference between the easy way and the complicated way?
The biggest difference between the two versions is the texture when you're done. The complicated technique creates something so thick and fluffy you can almost eat it with a spoon.
That said, if you package them up and leave them in the fridge for a week, they tend towards the same final consistency.
As mentioned in the recipe above, you can add milk or water to make either recipe thinner.
This has raw eggs, is it safe to drink?
While there's risk in all foods containing raw eggs, the Rockefeller University in NYC ran a study specifically testing the safety of eggnog made with alcohol and its risk for salmonella.
They found that properly made eggnog (meaning that it has alcohol in it) is perfectly safe, even if inoculated with salmonella and allowed to age! You can hear an interview with the researchers over here on NPR.
Additionally, the eggs all came from our friends at Hunger Moon Farm, and we know the farm and the farmers very well.
Like with all cooking, please use your judgment. If the egg smells funny or you don't know/trust the farm, you might want to go out and find different eggs.
This is a lot of eggnog, can I make a smaller batch?
Absolutely! A half-size batch is a great way to go. In fact, the half-size batch can usually be made all in the same mixer.
We find that if you go any smaller, it's really not worth the effort to make the complicated version, but the easy version can actually be made in a cocktail shaker with just one egg! (We know because we've done it.)
If you have only one bottle of Winter Warmer, and you're not certain you want to commit two cups of it to this recipe, go ahead and shake up super small eggnog to see if you like it. It won't be exactly the same (for a variety of reasons), but it'll give you a good idea.
How long does the eggnog last?
If you listened to the above NPR article, you know that the eggnog they used for their study lasted over a month with no problems.
While we haven't submitted our recipe to any university studies, we can say with confidence that we've kept Winter Warmer Eggnog in the fridge for at least four weeks, and it actually improves with time.
The only issue with aging the eggnog is that you lose the crazy, foamy texture you get if you use the complicated technique since it will want to separate in the fridge. Just shake it back up before pouring (to make sure all of the alcohol doesn't settle to the bottom), and pour. It's still really good, though.
(Did you notice that we didn't say, "Depends on how fast you drink it?" Good for us.)
Do you know the nutrition information for Winter Warmer Eggnog?
Look, friend. This is a glass of cream, eggs, maple syrup, and booze. There's a reason that it's associated with holiday feasts.
If you're having trouble getting enough calories in your diet, this beverage can definitely help you get there.
That said, the drink is so rich and creamy that it's actually pretty challenging to drink too much of it.